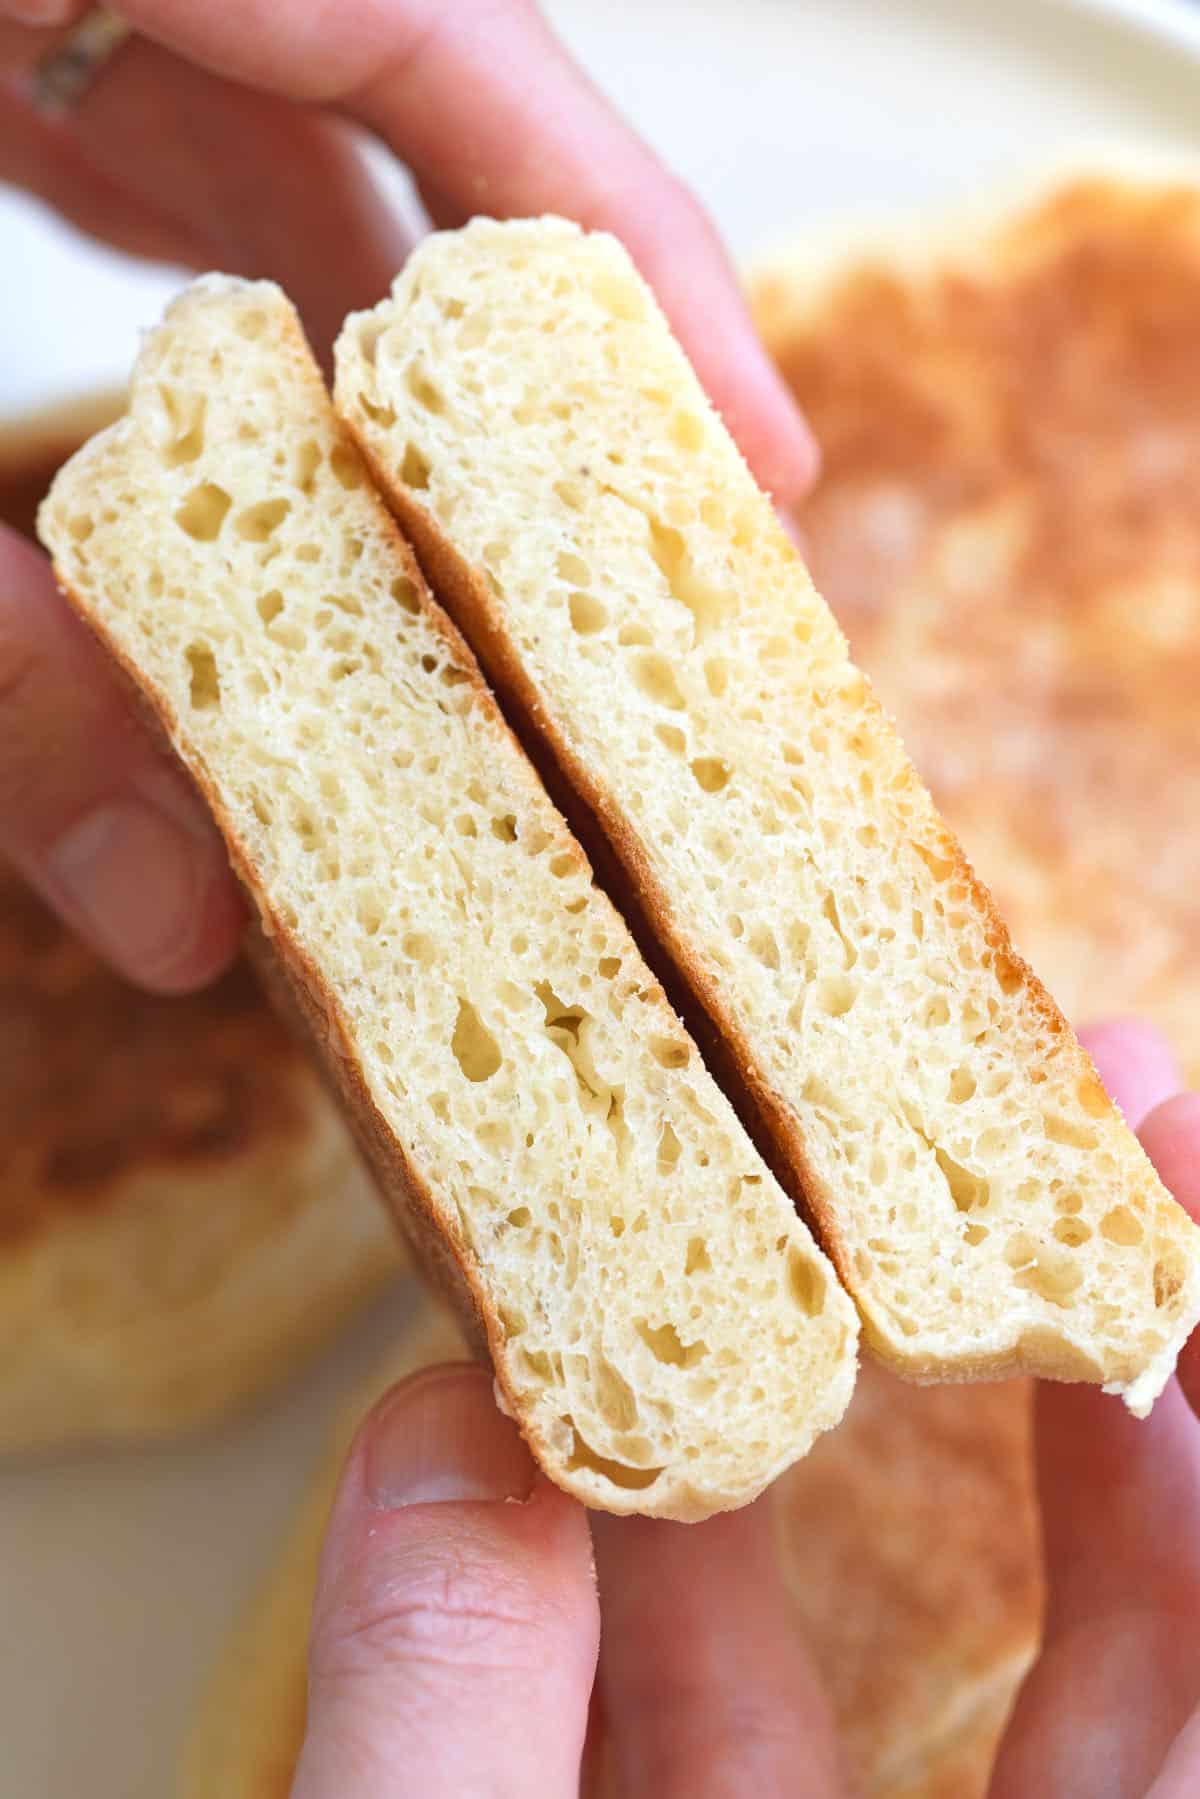
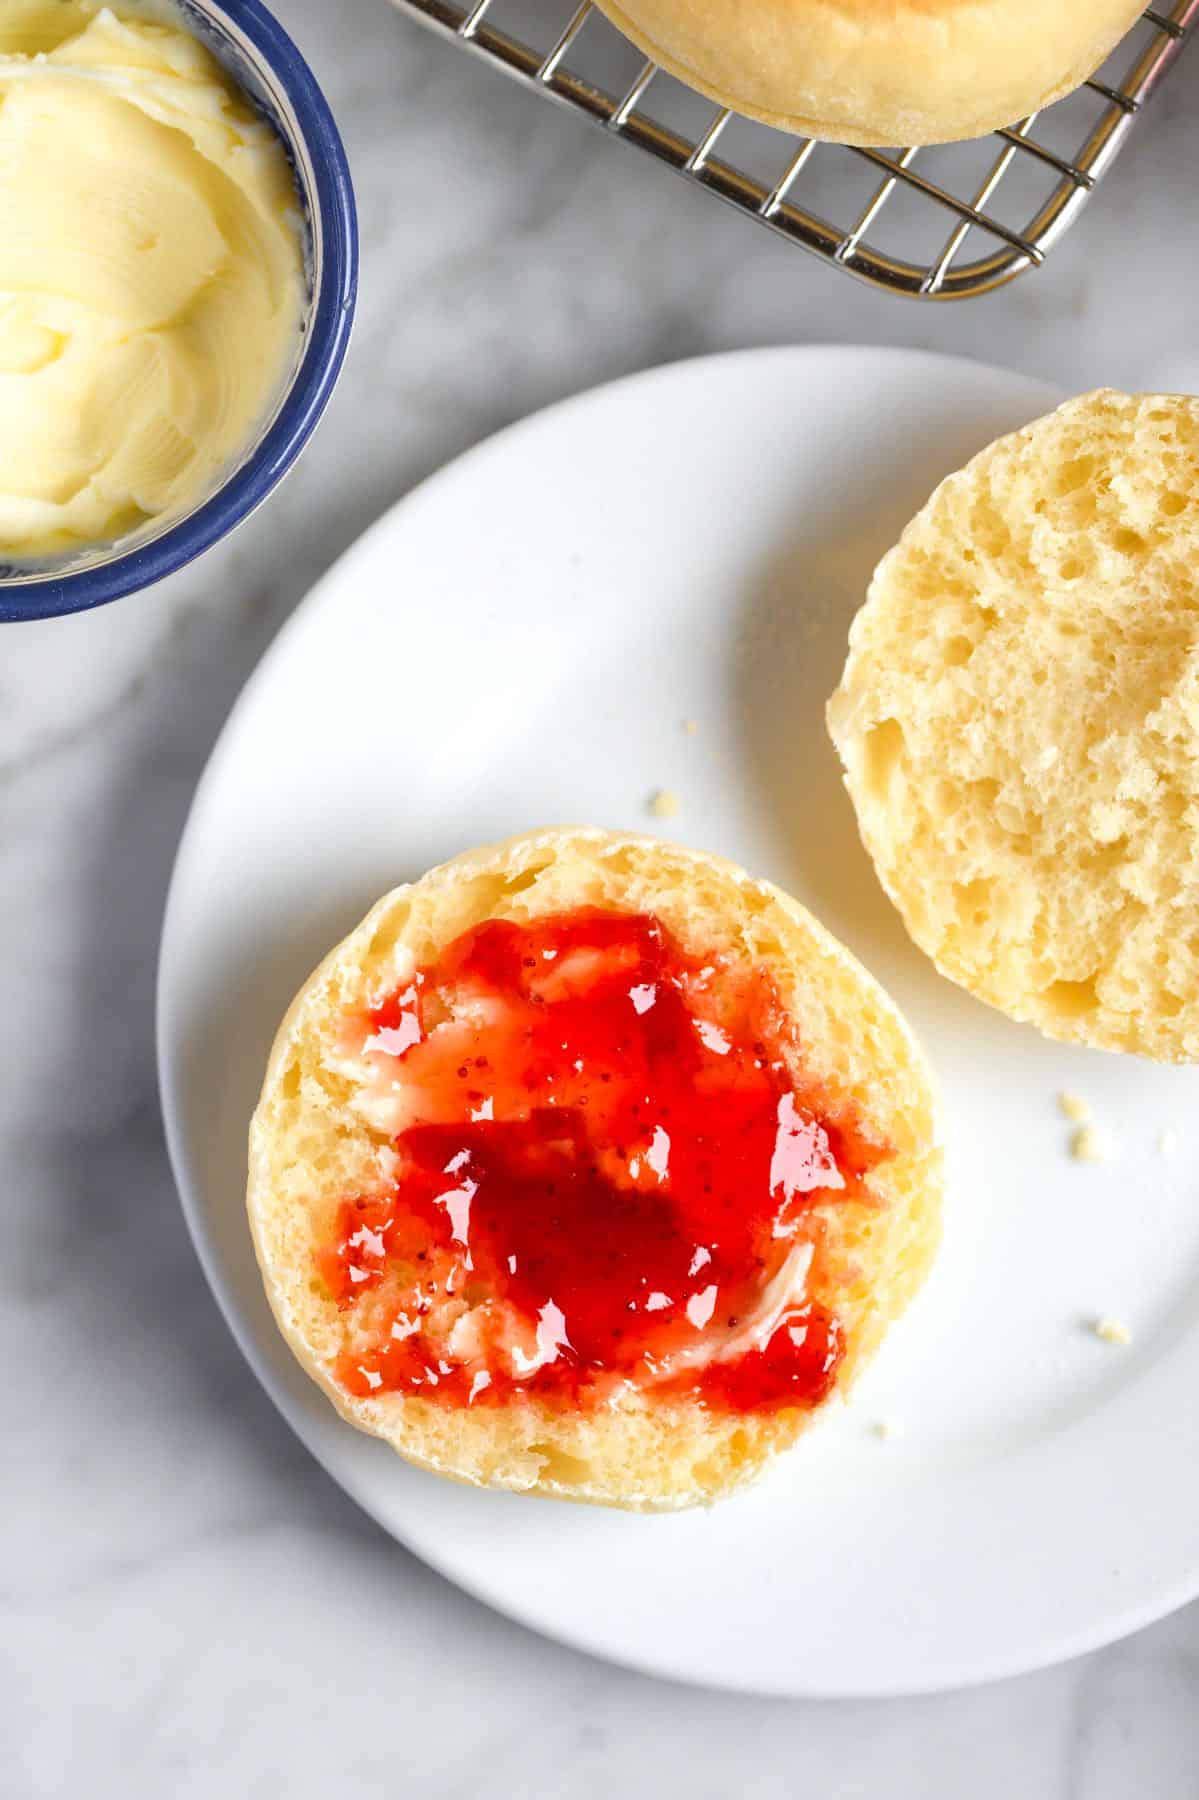
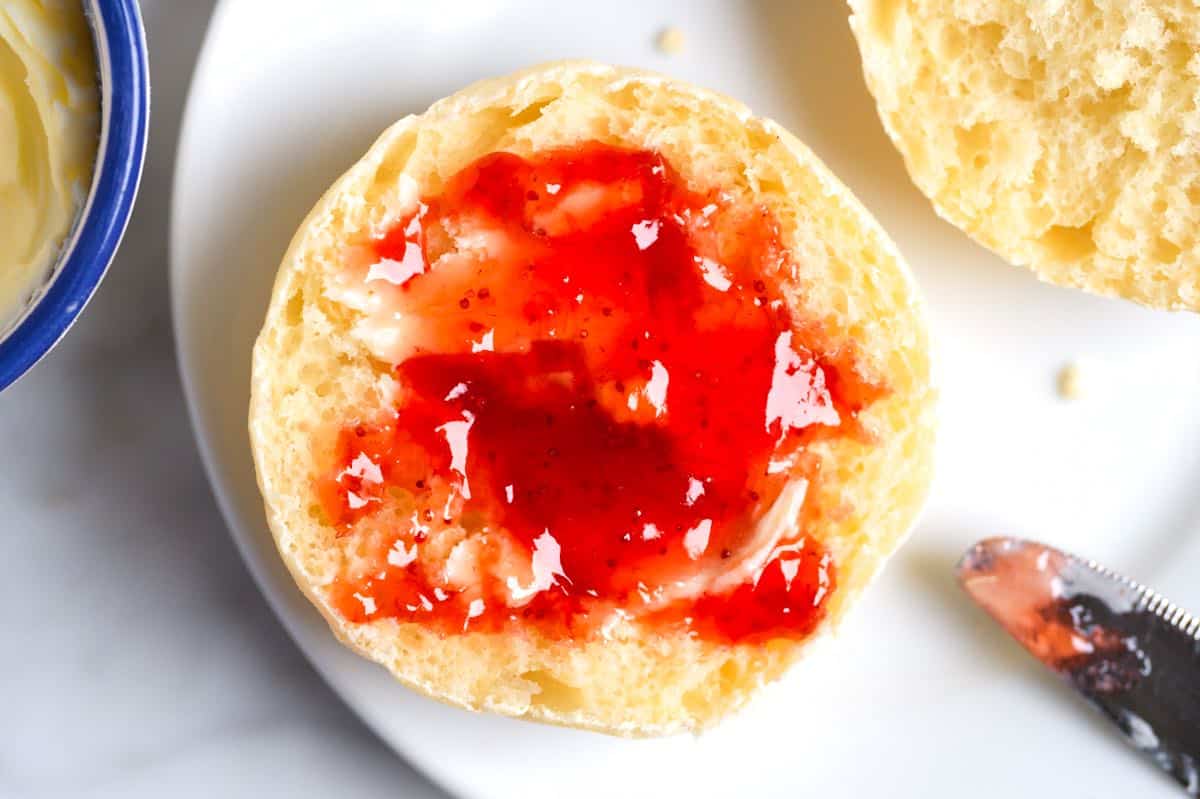
Our family goes nuts for this English muffins recipe. Whenever we make a batch, they are gone within days (the recipe makes 12). Homemade English muffins are the best! The process is fun, and the results are almost magical. So many nooks and crannies! For the best flavor and texture, I slowly proof my dough in the fridge. I love this since I can make my dough one day, proof overnight, and then form and cook the next day. The overnight proof makes these much easier since I can break up the steps!
Key Ingredients
Flour: I use all-purpose flour to make these English muffins and love how light and airy the final texture turns out. Butter: I add melted butter to the dough, which makes our muffins more tender and taste incredible. Instant yeast: The recipe for making English muffins below works with active dry or instant yeast, but I find that instant yeast has a bit more pep, so that’s what I keep in my kitchen. Sugar: A bit of sugar (or honey) makes these taste amazing and helps wake our yeast so it starts bubbling. Egg: Adds richness to the dough. We add one egg. Sour cream: Makes them taste extra delicious. Many English muffin recipes call for milk, but we love swapping it for tastier, more tangy sour cream. Semolina flour: You will cook the English muffins on a griddle or in a skillet, so the semolina flour helps to prevent them from sticking. Cornmeal is a good substitute.
How to Make English Muffins
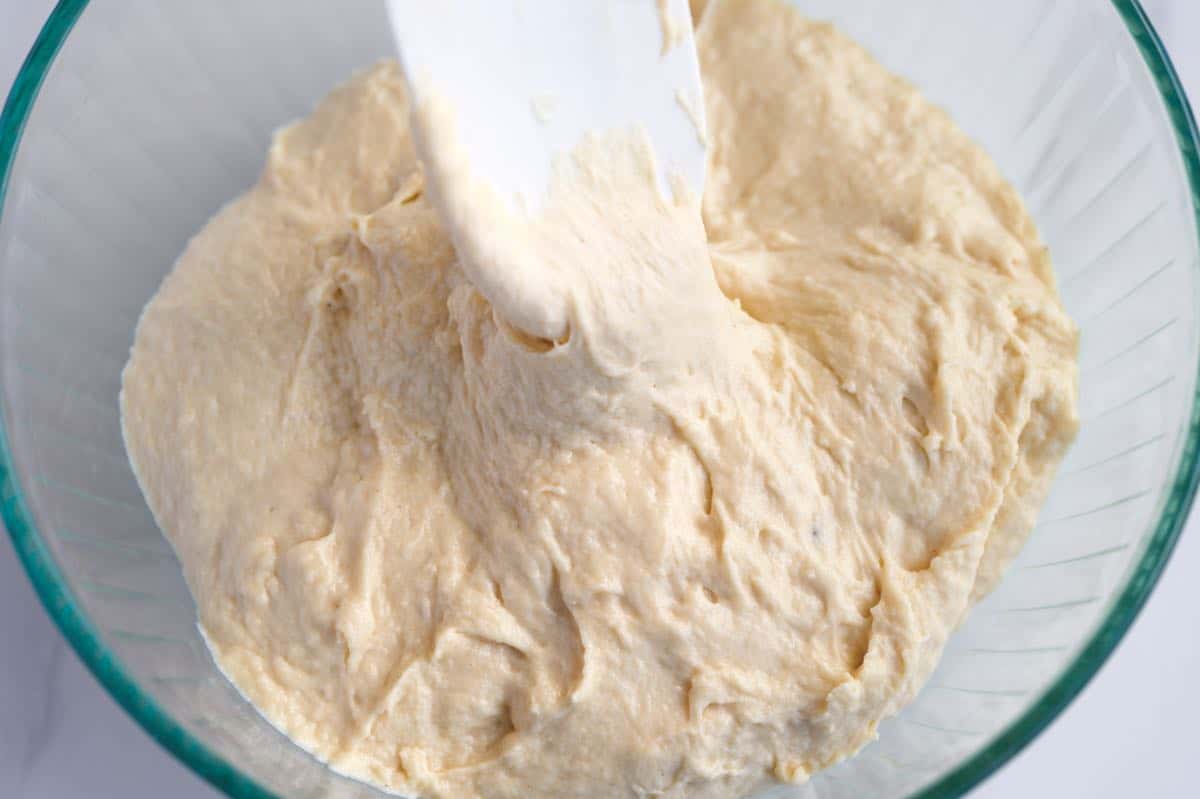
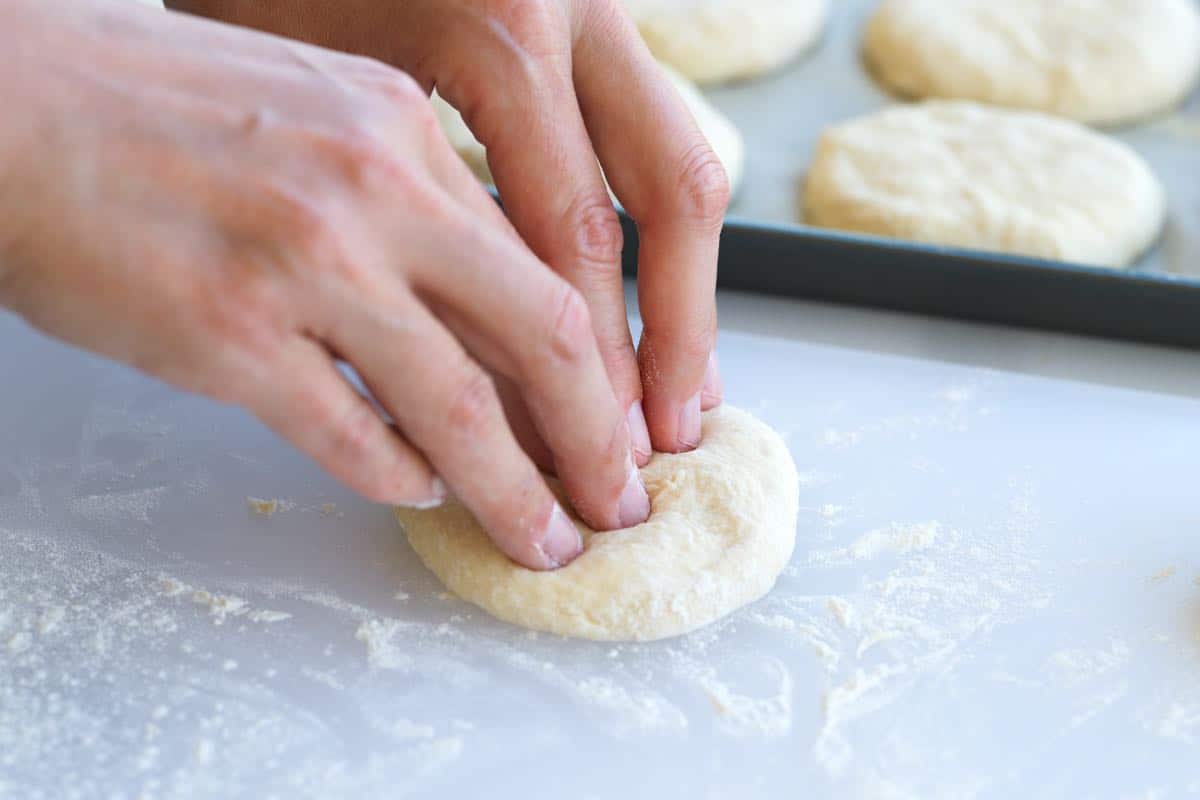
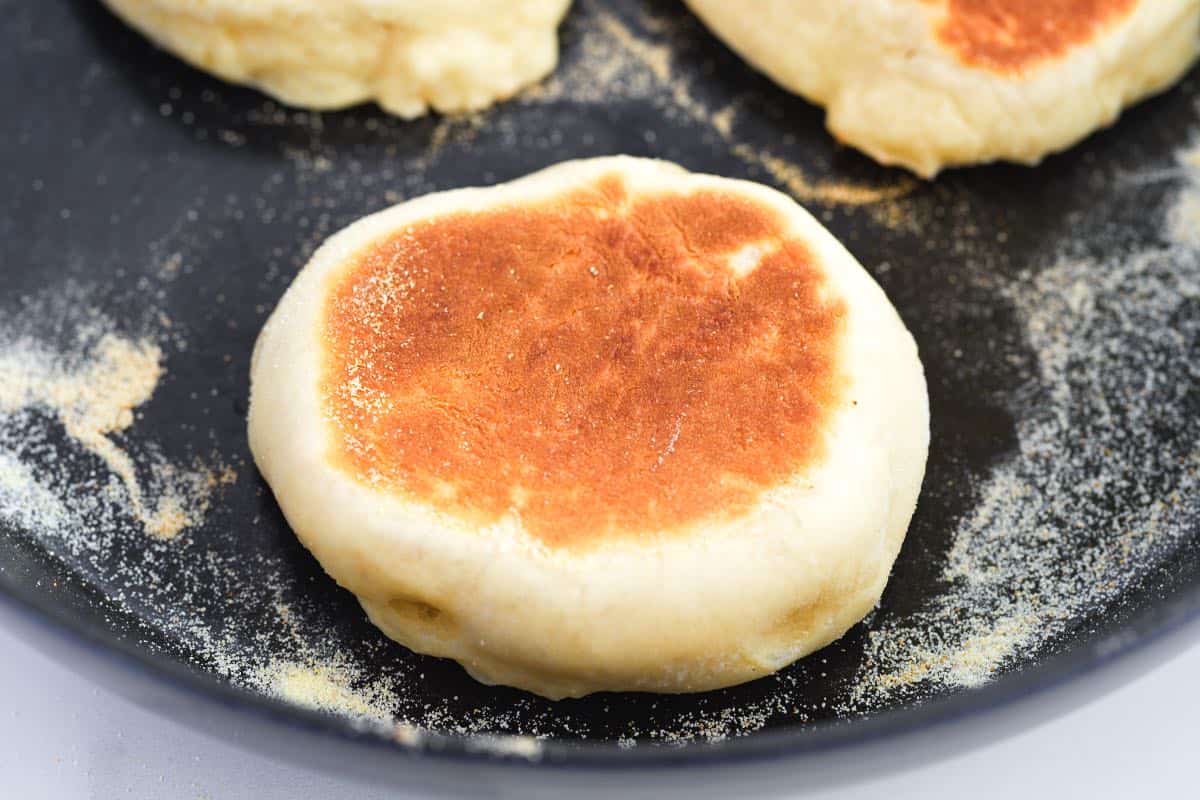
Our dough for these English muffins takes a while to proof. Don’t let that scare you, though. Breaking up the steps actually makes this recipe easier and more approachable (it also makes these taste amazing). I find it easier to break this recipe into two days (to make this recipe in one day, see the tips below our recipe). On day one, you will make the dough. In a small bowl, combine your instant yeast with warm water and sugar, and then set it aside until foamy. If, after waiting for 10 minutes, you don’t see any bubbly action from the yeast, it is likely dead. I make the dough in my stand mixer (it’s easier this way). Add the bubbly yeast mixture, egg, sour cream, melted butter, salt, and flour to the mixer and mix on medium-low speed until it begins to pull together. The dough will look very wet and slumpy, but this is a high-hydration dough, so don’t let its wet and sticky appearance scare you off. All the moisture in our dough helps to make the nooks and crannies! You’ll continue mixing the dough for a few minutes, then scrape it into a large mixing bowl, cover it with plastic wrap, and refrigerate overnight. Remember, the dough is supposed to be sticky! On day two, I form and cook the English muffins. Working with the cold dough makes things extra easy (it tames the stickiness). I don’t cut out the muffins. Instead, I roll pieces of the dough into balls and then press out using my fingertips until a 3-inch disc. Keep a bit of flour and semolina nearby to prevent sticking while working with the dough. Place each formed dough disc onto a baking sheet lined with parchment paper and semolina flour, then proof for an hour. After an hour, they will have puffed up, and you can cook them! I cook my English muffins in a skillet over medium heat and then bake them in the oven for 15 minutes until the sides don’t feel doughy. And that’s it, perfect homemade English muffins. I know the steps seem long, but trust me, this recipe is really fun to follow, and the results are incredible!
My Favorite Ways to Use English Muffins
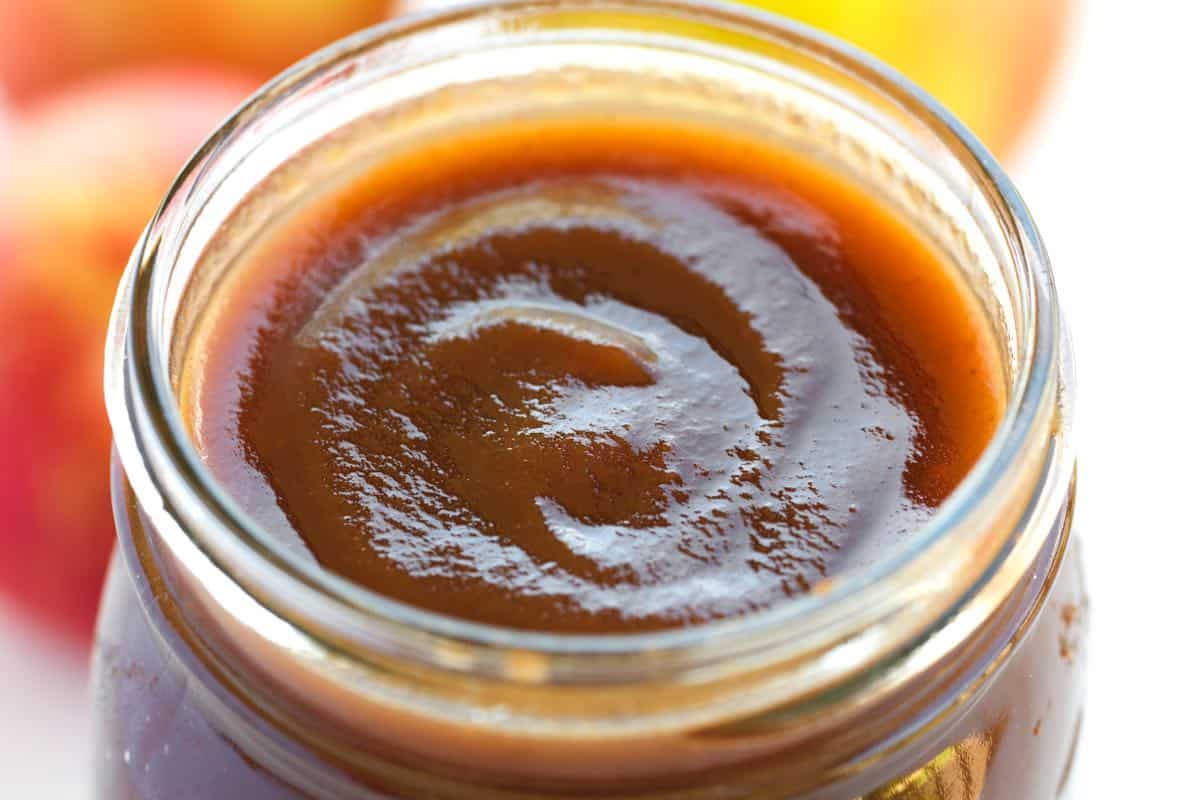
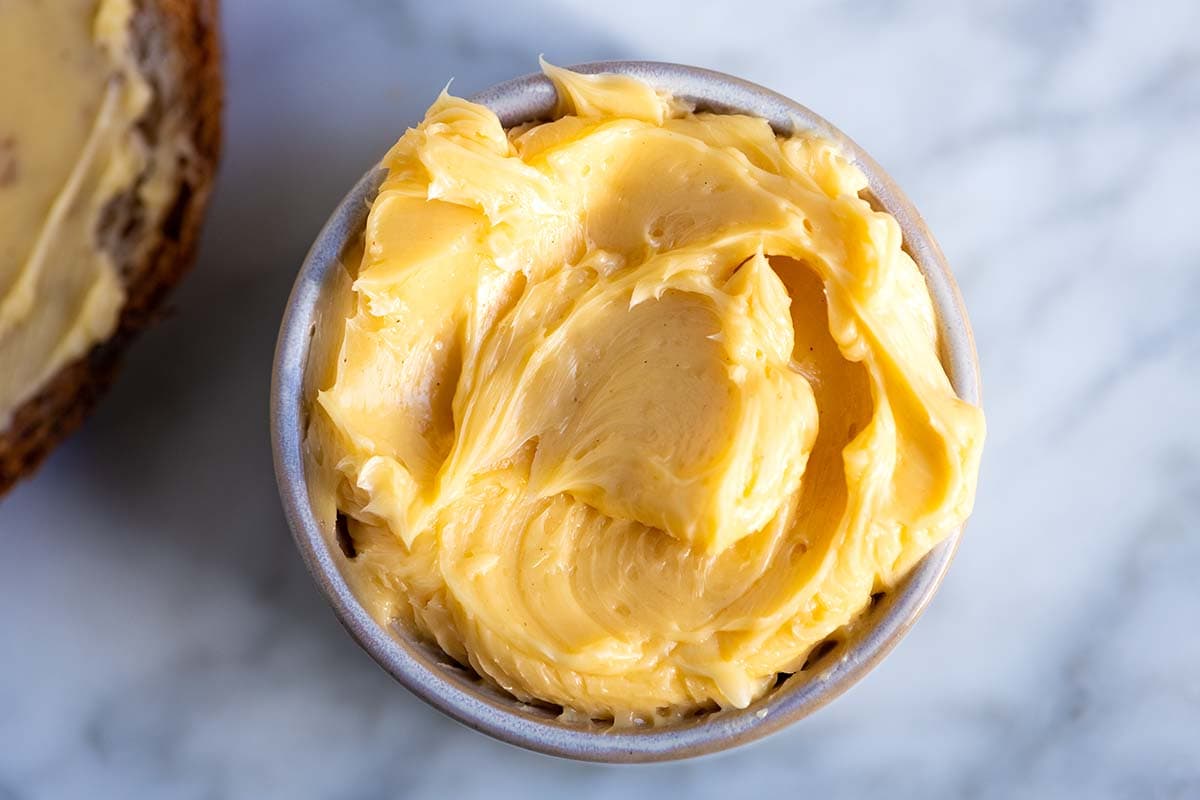
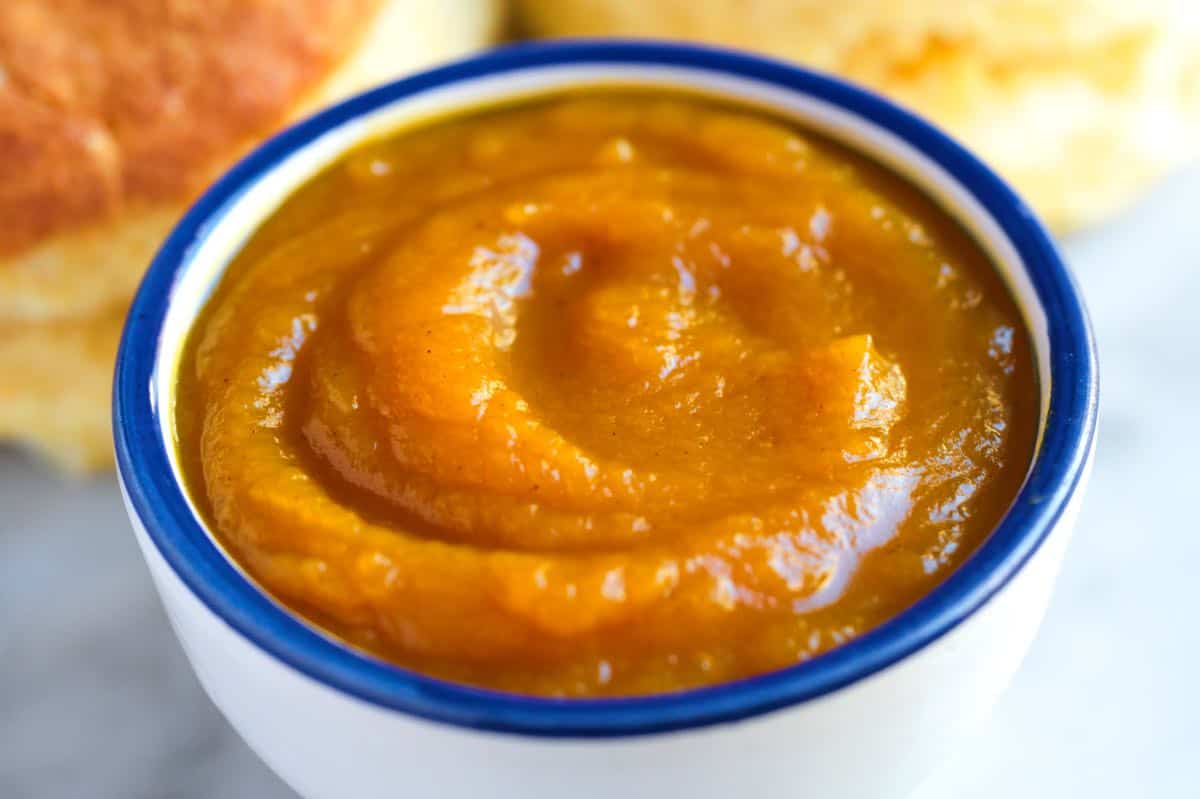
Our family loves toasting English muffins and serving them warm with butter, honey butter, jam, almond butter, or pumpkin butter. My son loves them for English muffin pizzas (add your favorite pizza sauce and toppings, then bake until bubbly). English muffins are the perfect base for Eggs Benedict (with Hollandaise sauce and poached eggs) or these homemade breakfast sandwiches. And I love swapping them in for sandwiches (I love using them for egg salad sandwiches and tuna salad sandwiches). The dough takes a while to rise since we do it slowly in the fridge. This slow rise makes the English muffin dough easier to work with and the flavor vastly improves with the extra time. To make things easy, I like making my dough on one day, proof overnight in the fridge, and then form and cook the next day. See the tips below for how to make these in one day. 1 ¼ teaspoon (8g) fine sea salt 3 tablespoons (43g) butter, melted 3/4 cup (177ml) lukewarm water (110°F to 115°F) 2 tablespoons plus 1 teaspoon (30g) sugar or honey 2 ¼ teaspoons (7g) instant yeast, one 1/4-ounce packet 1 large egg, beaten 5 tablespoons (80g) sour cream Semolina flour or cornmeal, as needed 2Whisk together the water, sugar, and yeast in a small bowl. Let sit for 15 minutes until the mixture is bubbly and foamy. If it does not bubble, the yeast is dead (toss the mixture and try again with new yeast). 3Add the yeast mixture, melted butter, beaten egg, and sour cream to the flour in the stand mixer. Mix at medium-low speed until the dough begins to pull together, about 5 to 8 minutes. Scrape down the sides of the bowl occasionally. The dough will be very wet, slumpy, and sticky. 4Proof the dough: Transfer the dough to a large bowl, cover with plastic wrap, and refrigerate overnight. 2Lightly flour your work surface. Then, without punching down the proofed dough, gently turn it onto the floured surface, flatten into a large circle, and then cut into 12 equal triangles. 3Form each piece into a ball (see how I do this in our video). Place onto the prepared baking sheet, then flatten it into a disk (around 3 inches in diameter). Make sure there is some space between each muffin. 4Proof again: Cover the baking sheet with a dish towel and let rise at room temperature for 1 hour and 15 minutes (or for 1 hour with your oven’s proof setting). 2Heat a heavy-bottomed skillet over medium heat. Dust with semolina flour and cook the muffins in batches until golden brown on both sides (about 3 to 5 minutes per side). I can fit 3 in my skillet at a time. Be careful when moving the muffins to the skillet. They will be a bit soft, but do it in a swift confident motion, and you should be okay (they might look misformed at first, but they puff back up). 3Transfer partially cooked muffins to the prepared baking sheet. Then, once you have 6 muffins on the baking sheet, bake for 10 to 15 minutes or until the sides feel firm. Baking 6 at a time helps prevent the partially cooked muffins from falling back on themselves as they wait for the rest to cook in the skillet. The idea is to get them into the oven as quickly as possible to firm up. 4Repeat the cooking process with the remaining dough and reuse the baking sheet you proofed the muffins on for baking the remaining 6. 5Cool cooked English muffins on a wire rack. Use a pastry brush to brush away excess flour from the outside of the muffins, and then store in an airtight container on the counter for up to 3 days (or freeze for 1 month).

