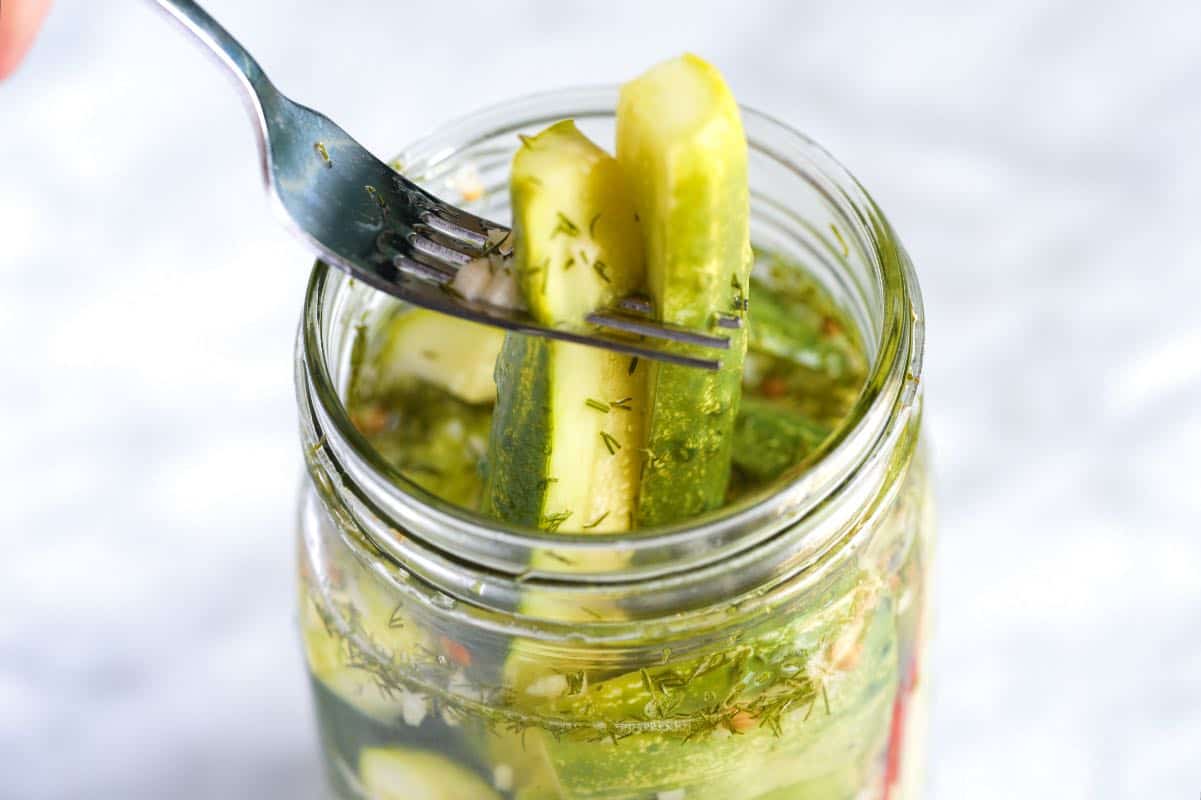
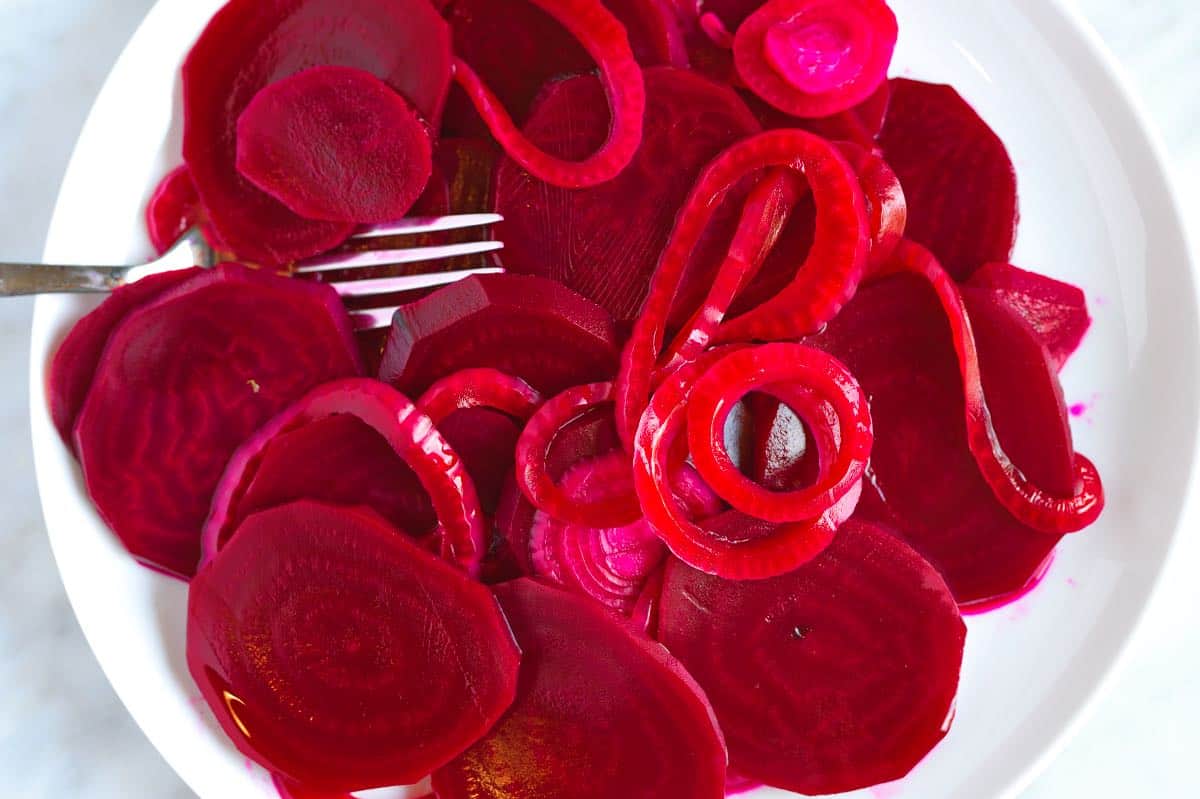
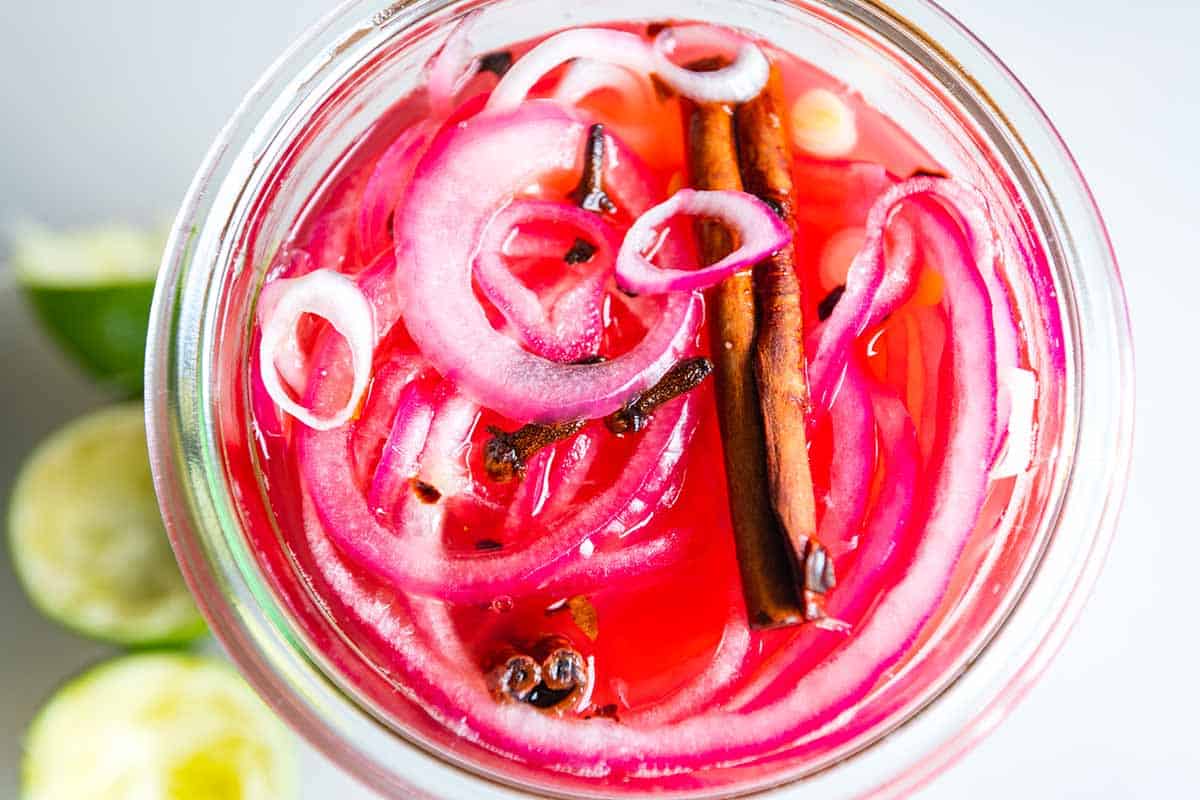
Like all of the other pickles recipes on Inspired Taste, these are refrigerator pickles, meaning you can enjoy them in as little as a day. I love the simple dill pickle brine in this recipe. It’s super simple to make and gives the cucumbers a classic flavor. For more easy pickles, try our sweeter bread and butter pickles, these incredible pickled beets, or our easy pickled onions.
Key Ingredients
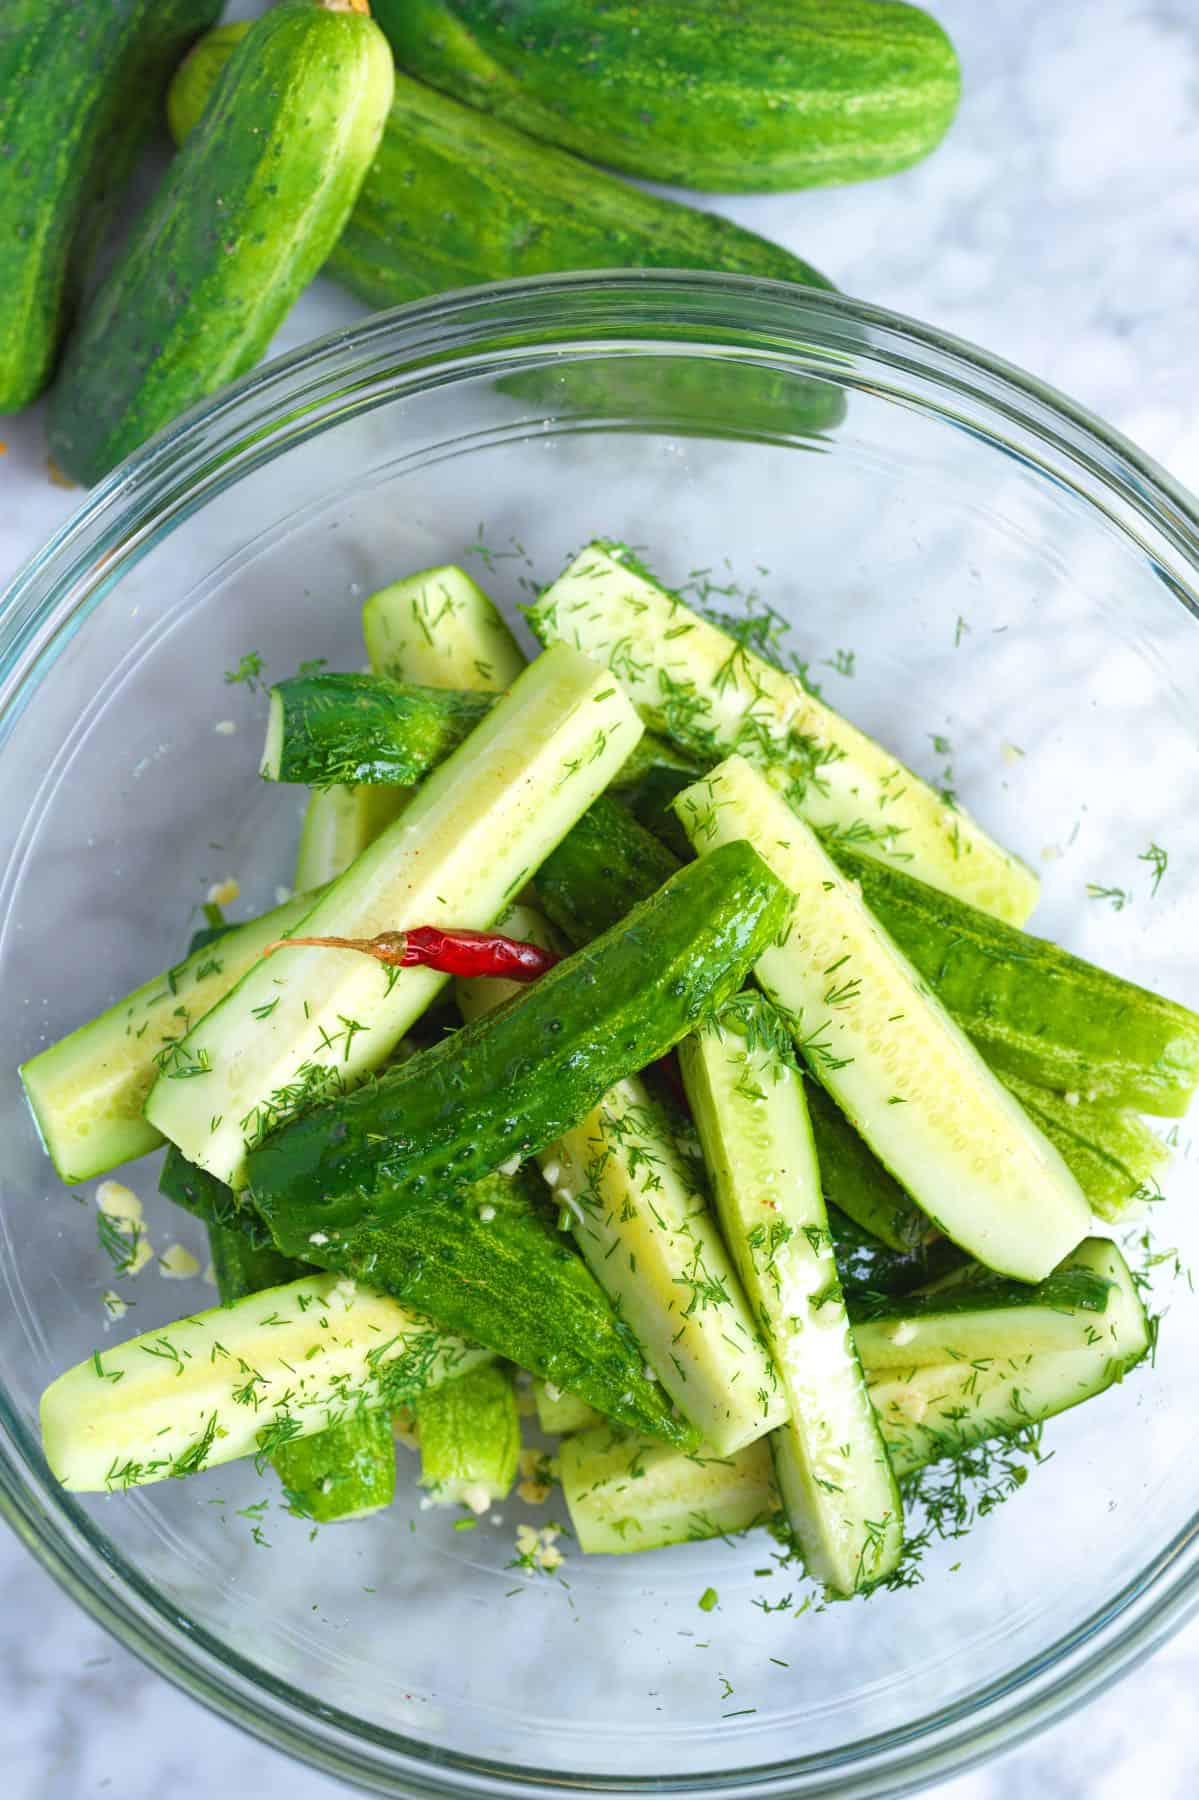
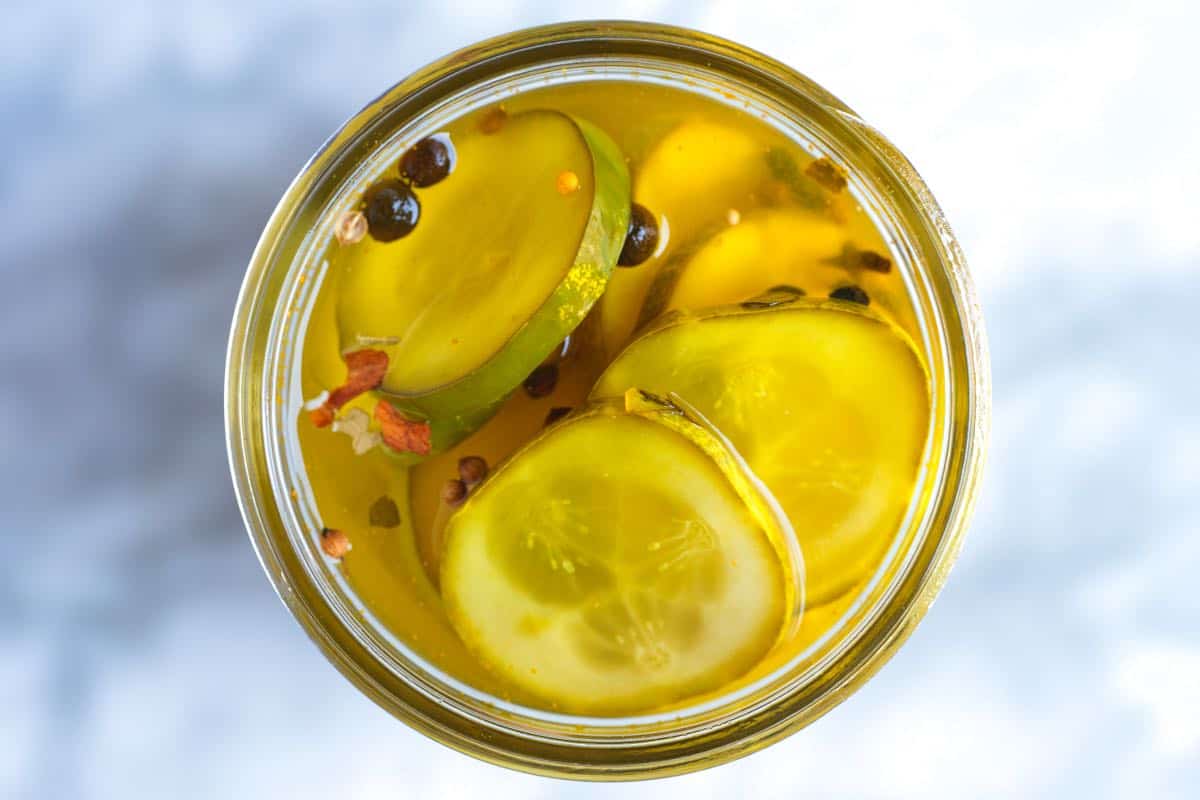
Cucumbers: For the best pickles, choose Kirby cucumbers. They’re short, fat, and have bumpy skin, making them ideal for pickling because they hold up well in the brine and stay crisp. If you don’t have access to a garden, farmer’s market, or farm, use smaller Persian cucumbers as a substitute. Fresh Dill: I use a generous amount since we’re making dill pickles. I chop half of it to float in the brine and leave the rest as whole sprigs, which I push into the jar for a pretty look. Garlic: I add whole cloves of fresh garlic to my pickle brine because I love the flavor. If you’re sensitive to garlic, use a little less, and if you love it, mince it or add a few more cloves. Vinegar: Use distilled white vinegar with 5% acidity (most are, but double-check the label). Pickle Spices: For classic pickles, I combine peppercorns, pickling or sea salt, yellow mustard seeds, coriander seeds, and dill seeds. I also add a teaspoon of sugar to enhance the flavor without making the brine sweet. I also love adding a dried arbol chili pepper, but this is optional.
How to Make Pickles
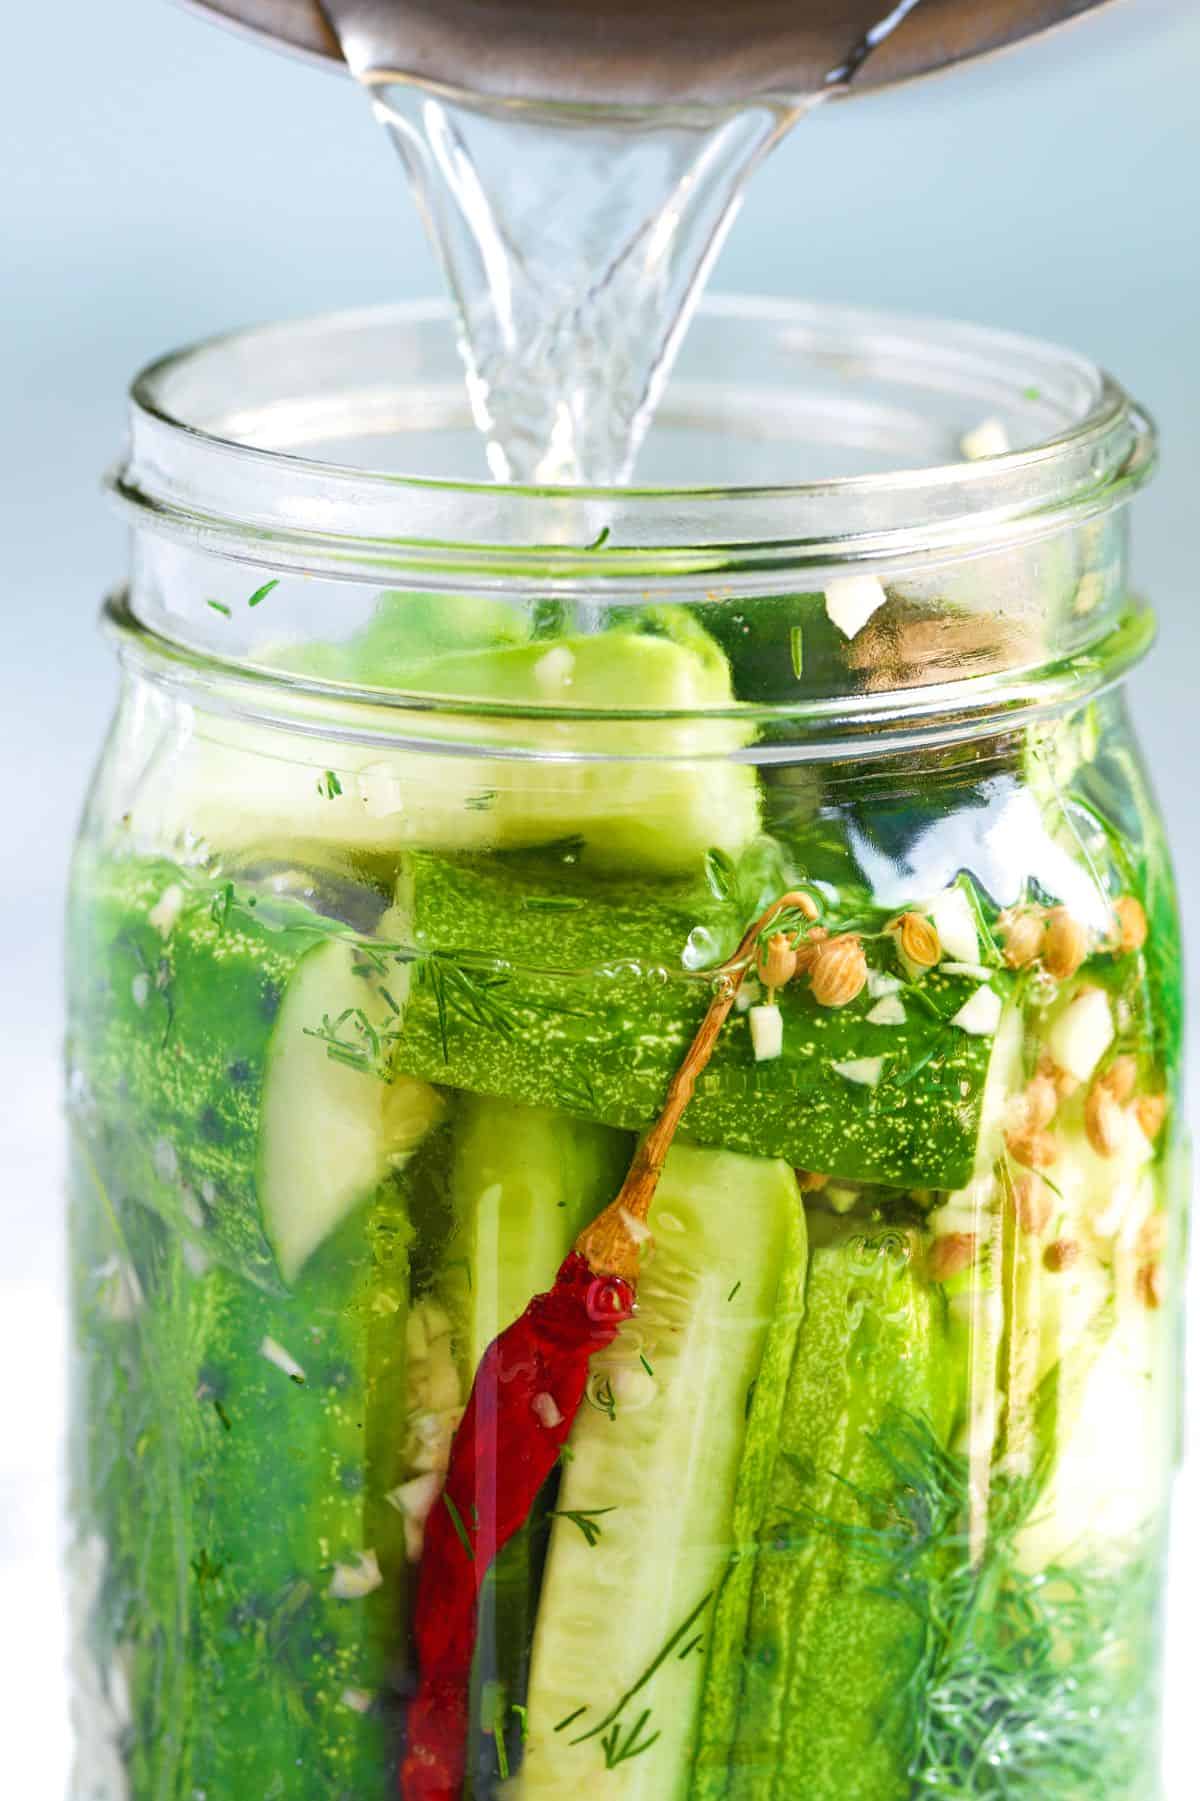
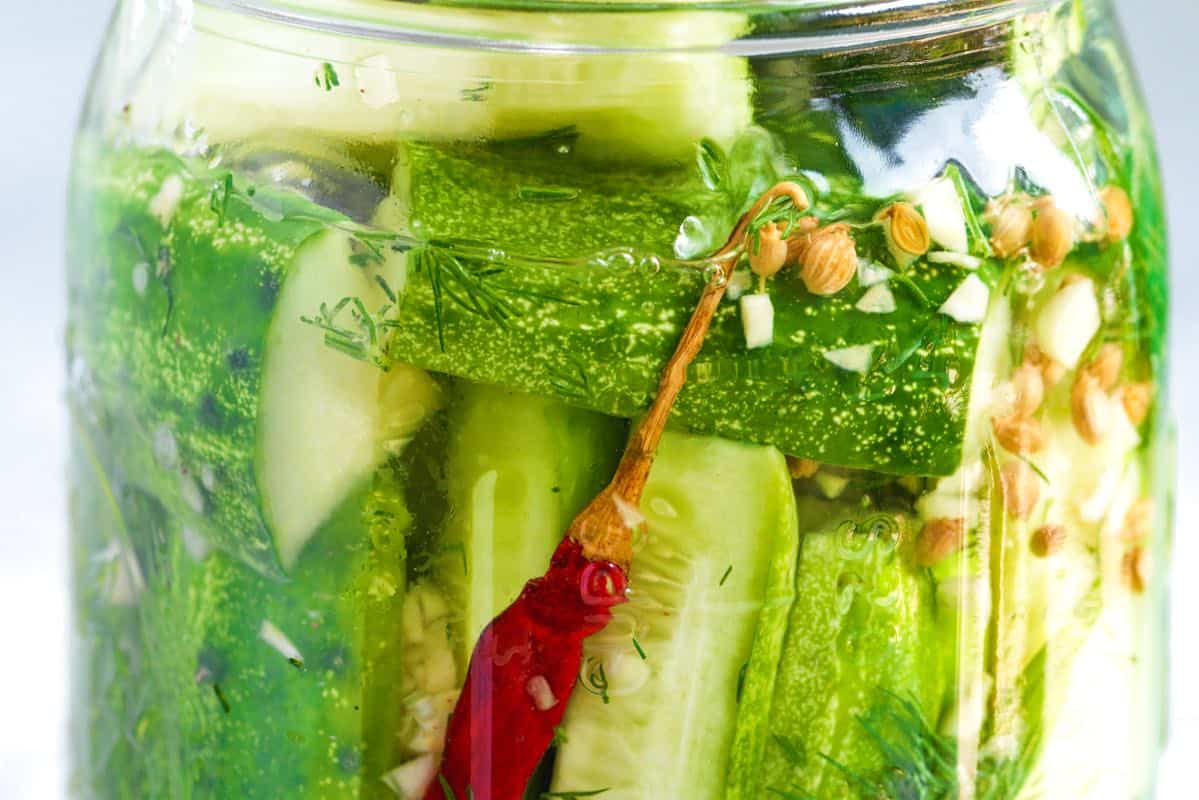
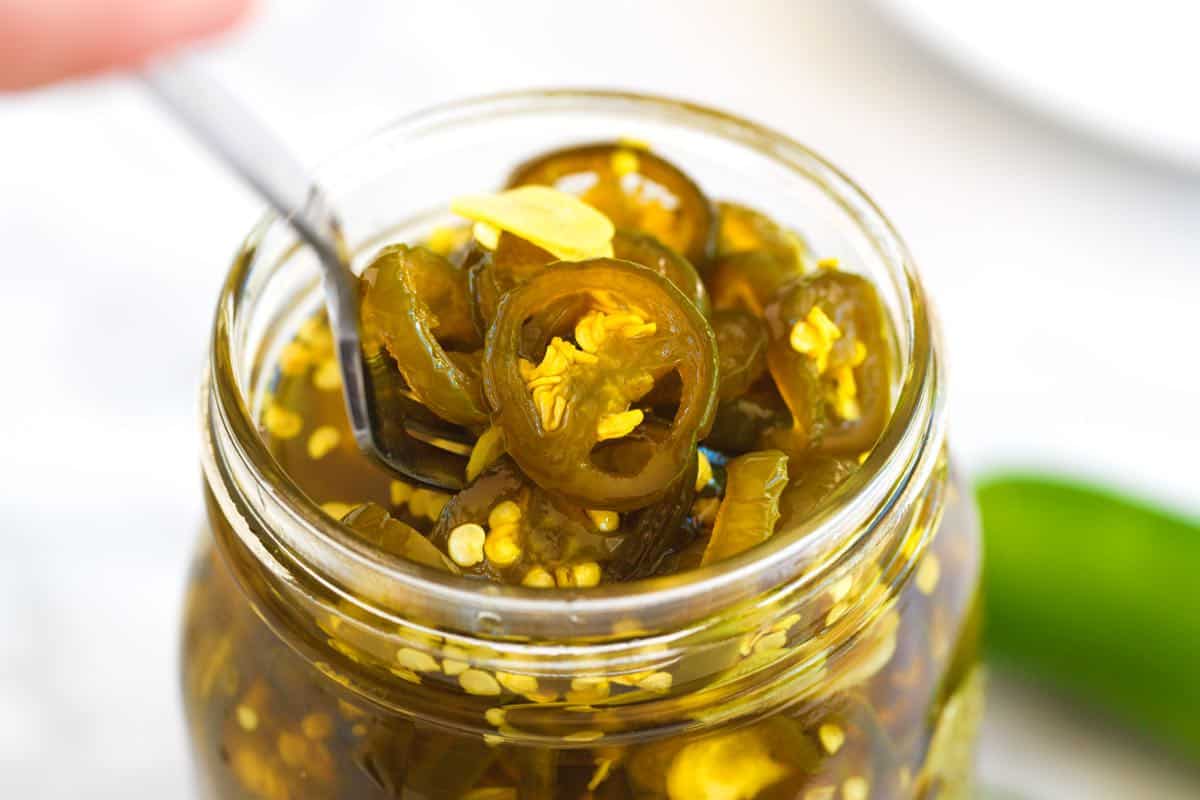
Our homemade refrigerator dill pickles are so easy to make. With two easy steps, you’ll enjoy your homemade pickles in no time! First, you’ll slice the cucumbers into spears and place them in a bowl with salt, whole black peppercorns, chopped fresh dill, garlic cloves, and an optional arbol chili pepper. Allow them to sit with the salt for 30 minutes, then pack the mixture into a jar. While the cucumbers sit, you can make our simple dill pickle brine. I combine distilled white vinegar with water, salt, a little sugar (1 teaspoon), and our classic pickle spices in a small saucepan and heat the mixture until the salt and sugar fully dissolve. Depending on the type of cucumber pickles you love, you have two options:
Hot Brine Pickles: Hot brining is your answer for pickles with a slightly softer crunch similar to store-bought pickles. Pour the hot brine directly over your cucumbers. Hot brining softens the cucumbers slightly, resulting in a slightly duller green color, but many people love the texture! Another advantage is that you can start snacking on these pickles the next day! Cold Brine Pickles: Cold brining is the way to go if you prefer pickles with a snappy crunch and a vibrant, fresh green color. Allow the brine to cool completely before pouring it over the cucumbers. Be patient, as the pickling process takes a bit longer (3 to 5 days). But trust us, the wait is worth it for that satisfying crunch and bright color, reminiscent of your favorite deli-style pickles!
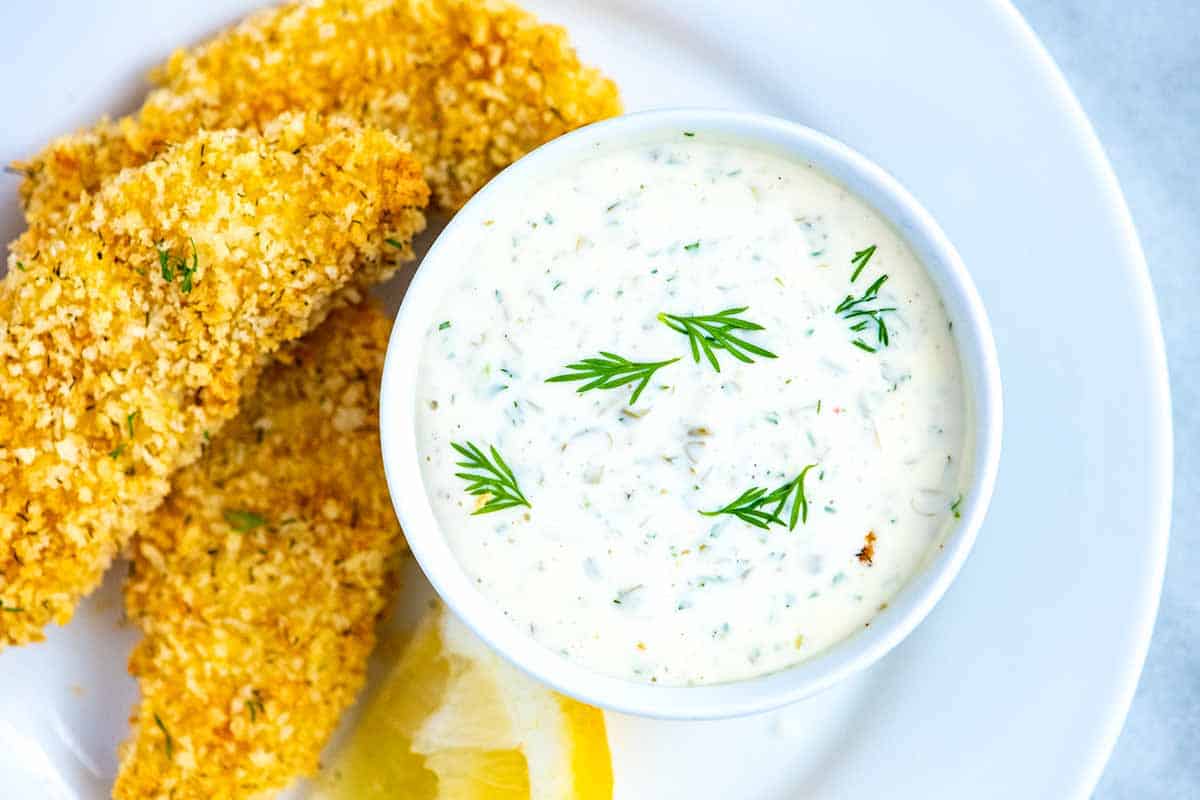
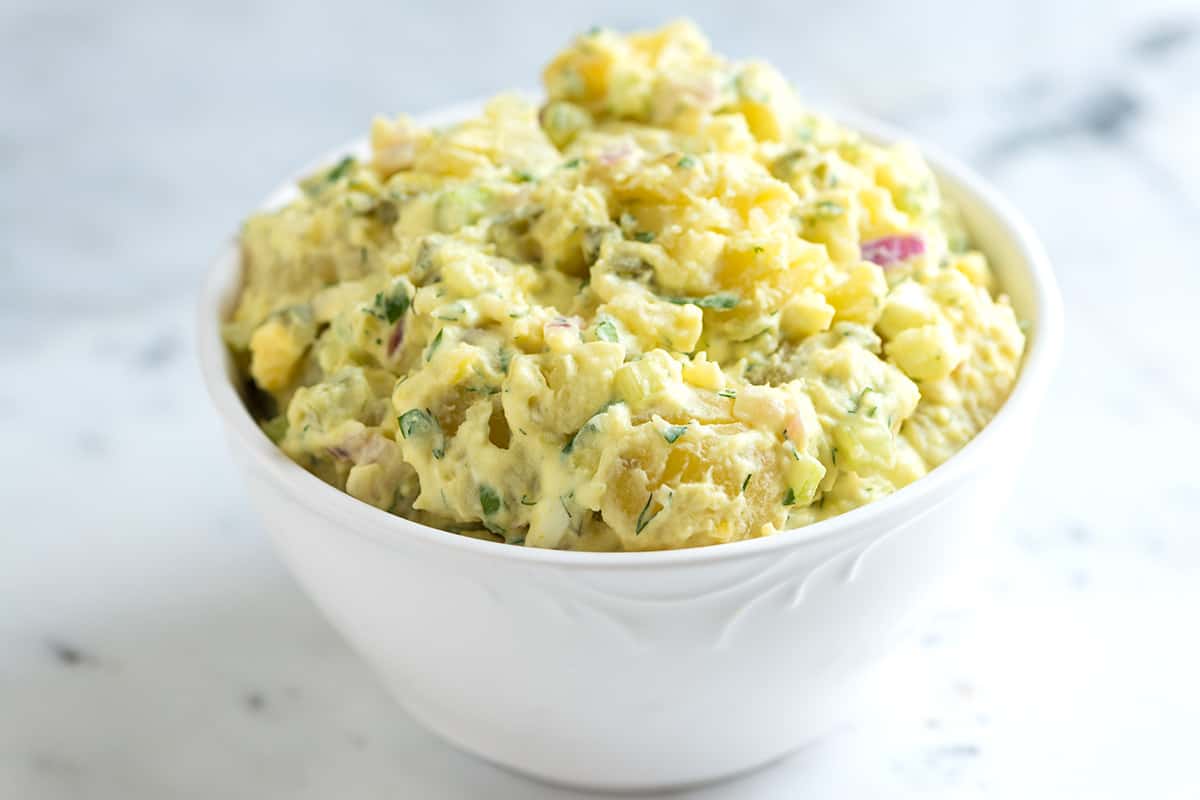
We created this recipe for dill pickles with our friend and chef, Richard Hattaway. He helped us dial in the recipe and has truly made our family’s go-to pickles! I use them to make homemade tartar sauce, creamy pasta salad, and this creamy potato salad! We hope that you try them soon. 5 cloves garlic 4 sprigs fresh dill 1 dried arbol chili pepper, optional 4 whole peppercorns 1 cup (236ml) white vinegar, 5% acidity 1/2 cup (118ml) water 2 teaspoons (12g) pickling salt or sea salt, plus 1/4 teaspoon (2g) for brine, recommend using weight, see notes 1 teaspoon sugar 1/4 teaspoon yellow mustard seeds 1/4 teaspoon whole coriander seeds 1/4 teaspoon dill seeds, optional 2In a large bowl, toss the cucumbers with 2 teaspoons (12g) of salt, peppercorns, garlic, chopped dill, and optional arbol chili pepper. Let them sit for 30 minutes. 3Pack the cucumbers tightly into a 1-quart jar (1 liter). If some cucumbers don’t fit, cut them in half and place them on top of the packed spears. 4Scrape all the dill, garlic, and salt from the bowl into the jar. Slide the chili and whole dill sprigs down the side of the jar. 5In a small saucepan, bring vinegar, water, 1/4 teaspoon (2g) salt, 1 teaspoon sugar, mustard seeds, coriander seeds, and dill seeds to a boil. 6If you’re making hot-brined pickles, immediately pour the hot brine over the cucumbers to fully submerge them. Leave about 1/8-inch of space between the top of the brine and the jar lid. Let the jar cool to room temperature, then tighten the lid finger tight and refrigerate. 7If you prefer cold-brined pickles, allow the brine to cool to room temperature before pouring it over the cucumbers to fully submerge them. Leave about 1/8-inch of space between the top of the brine and the jar lid. Tighten the lid finger tight and refrigerate. 8Place the jar upside down in a bowl for the first night, then turn it right-side-up the next day. 9Hot-brined pickles will be ready the next day, while cold-brined pickles need 3 to 5 days before they’re ready to enjoy. The pickles will last in the fridge for up to one month.